Introduction
Have you ever wondered why those tightly sealed mason jars filled with jams and pickles can be stored at room temperature for a long time without going bad? The secret lies in the step of “sterilization”. But sterilization is not just a simple wash, there is a lot of knowledge involved. Want to know how to sterilize mason jars, so that every canning is safe and successful? You will understand after reading this article!

First understand: What is sterilization?
In home canning, “sterilization” (more accurately called “commercial sterilization”) is a very strict term – all microorganisms in the jar, including super stubborn bacterial spores, must be killed at high temperature. Only in this way can the sealed food be stored for a long time at room temperature without going bad or producing toxic substances.
The “sterilization” we usually talk about is much simpler, just reducing the number of microorganisms to a safe range, and cannot deal with those heat-resistant spores. So if you want to keep food for a long time, sterilization is not enough, you must disinfect it!
Necessity of sterilization
Want to know how to sterilize mason jars? First, you need to understand why sterilization is necessary. Even if the jars are washed clean, invisible bacteria and molds may be hidden on the surface. Once they find a suitable environment, they will multiply wildly. It is not a big deal if the food is spoiled, but they may also produce deadly toxins!
The details of sterilization all depend on what you put in:
- Low-acid foods (pH>4.6) such as vegetables, meat, and seafood: the most feared is botulism! Its spores will produce highly toxic substances in the oxygen-deficient and low-acid environment in the sealed jar, and they cannot be killed by boiling water. In this case, a pressure canner must be used to raise the temperature to above 116°C.
- High-acid foods (pH≤4.6) such as fruits, jams, and pickles: the acidic environment can inhibit botulism, and a boiling water bath is enough for sterilization.
- Just put grains, make yogurt, or put it in the refrigerator for a short period of time: no need to be so troublesome, wash it thoroughly, and run it through the sterilization mode of the dishwasher.
Want to know how to sterilize mason jars? The first step is not to sterilize directly, but to wash the jars and inspect them carefully!
Before sterilizing: cleaning and inspection, neither of them can be omitted
Want to know how to sterilize mason jars? The first step is not to sterilize directly, but to wash the jars and inspect them carefully!
Give the jars a physical examination:
Touch the mouth of the jar to see if there are small gaps, and check the body and bottom of the jar for cracks – even a small flaw may cause the seal to fail, and the jar may explode when heated. Don’t use problematic jars to store food for a long time, but it’s okay to store dry goods. If the jar becomes cloudy due to scratches, don’t use it for canning or freezing, as it will reduce safety.
There are tips for thorough cleaning:
New and old jars, screw-on lids, all need to be rubbed vigorously with hot soapy water to rinse off the soap foam. Hand washing makes it easier to check cracks in the cracks, and places where the dishcloth is hooked may hide small problems.
To deal with stubborn stains: Use a bottle brush and baking soda to wipe food residues and rust; soak hard water scale in water with white vinegar for a few hours and it will disappear. Adding some white vinegar to the water when canning cans can also prevent new scale.
The little secret of the lid:
Traditional metal lids are disposable. Just wash them with hot soapy water. Never boil them, which will affect the seal. The screw caps can be reused, but those that are rusted or deformed must be thrown away. It is best to store them separately from the jars to avoid sticking and being unable to be removed.
Although reusable plastic lids (such as Tattler) are cost-effective, you must check whether the gasket is damaged every time and wash them with hot water according to the instructions.
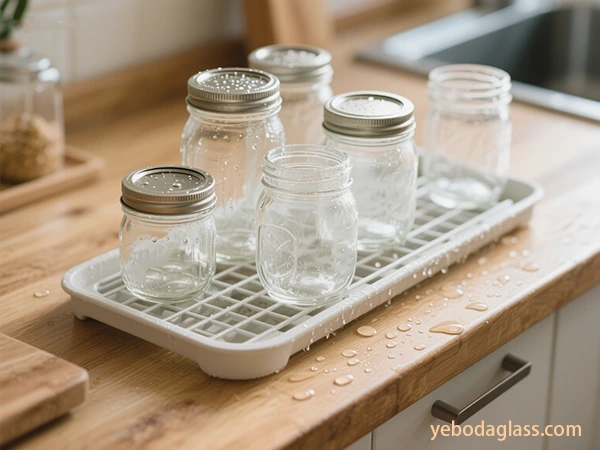
There are some tips for drying after washing:
The jars must be completely dried before storage, otherwise they are prone to mold. Put them in a clean and dry place, don’t pile them directly, and cover them to prevent dust and bacteria. When filling the food at the end, remember to wipe the jar mouth and threads with a damp cloth – even a little food residue may cause the seal to fail!
Choose the right sterilization method
Not all situations require pre-sterilization, you have to choose according to your needs:
- Situations where pre-sterilization is not necessary: As long as the canning is done in a boiling water bath for more than 10 minutes, or in a pressure can, the high temperature during the process is sufficient to sterilize, and there is no need to sterilize the empty cans separately in advance.
- Situations where pre-sterilization is necessary: When a boiling water bath is used to treat highly acidic foods for less than 10 minutes (such as jams and jellies), the empty cans must be sterilized first.
Recommended sterilization method:
- Boiling water bath sterilization: Place clean jars in a boiling water canner, add water to cover the jars by at least 1 inch, and boil for 10 minutes (below 1,000 feet above sea level, boil for 1 minute longer for every 1,000 feet above sea level). Leave the jars in the hot water after sterilization and take them out when you need them to avoid sudden temperature changes.
- Pressure canning (with built-in sterilization function): This is a must for low-acid foods! During the process, both the food and the jars will be sterilized at the same time. The specific steps should be based on reliable recipes (such as the USDA canning guide).
Note: The sterilization mode of the dishwasher is not thorough enough, and oven sterilization is even more dangerous (it is easy to cause the jars to explode due to uneven heating). Neither is recommended!
Detailed steps: Follow the steps to sterilize properly
Boiling water bath sterilization
Prepare a large enough canning machine, put a rack at the bottom, and put the clean jars upright on it. Add hot water to cover the jars by 1 inch, cover and heat until boiling. Start the timer after the water boils and keep boiling for 10 minutes. Don’t take it out immediately after sterilization. Turn down the heat to keep the jars warm in hot water and take them out when you need them to prevent thermal shock.
Pressure canning
Just wash the jars, no need to sterilize in advance, keep them warm (put them in hot water or a warm oven).
Put hot food in, leave a suitable head space, wipe the jar mouth, put a new lid, and gently tighten the screw cap. Place the jars in the pressure canner, add the specified amount of water, cover but not pressurize, and heat to exhaust for 10 minutes. Pressurize to the specified poundage (adjusted according to altitude) according to the recipe, keep the pressure stable, and process for the specified time. Turn off the heat after processing, let the pressure canner cool naturally to zero, then open the lid to take out the jars and put them in a clean place to cool.
Keep it sterile: This is the right thing to do after sterilization
Now that you have learned how to sterilize mason jars, don’t let the last step ruin things! How you handle and store the sterilized jars is directly related to whether they will be contaminated with bacteria again, especially when you need to sterilize them in advance, you must be careless.
Use it while it's hot, don't wait for it to cool down
The most important point is to use the sterilized jars that have just been taken out of boiling water, the oven or the dishwasher! This is emphasized by all methods and can avoid bacteria to the greatest extent.
More than 1 hour? Re-sterilize
If you really can’t use it immediately, don’t exceed 1 hour at most. Whether it is a jar, lid or screw cap, you have to sterilize it again after 1 hour; you can also soak the jar in hot water for temporary storage, but it can’t exceed 1 hour.
Maintain temperature to prevent cracking and bacteria
Keep the jar warm before filling it, which can not only prevent cracking due to the large temperature difference when pouring hot food, but also help maintain a sterile environment. Either leave it in the sterilized hot water or put it in the oven at the lowest temperature to keep it warm, and take it out when you are ready to fill it.
Don't make these small moves
Remember to wear gloves or use jar clips when handling hot jars, and put them on a clean towel or cooling rack, not directly on a cold countertop (it is easy to crack). Also! After sterilization, never touch the inside of the jar and the sealing surface of the lid!
These situations attract bacteria
The surrounding environment is dirty, the jar is placed on a dirty rag, bacteria may take the opportunity to sneak in; after the jar is cooled, there are water droplets, which is a “nest” for bacteria.
Safety Tips & Canning Best Practices
When sterilizing mason jars (aka how to sterilize mason jars) and canning, these details are directly related to food safety, so remember them!
Don't change the recipe, follow the "standard answer"
Canning safety depends on scientifically proven recipes – it will clearly state whether to use a boiling water bath or pressure canning, how long to cook, and how much pressure (if necessary). Especially for low-acid foods, don’t add untried ingredients such as butter, flour, and rice, which will affect the heating effect and may make the food dangerous.
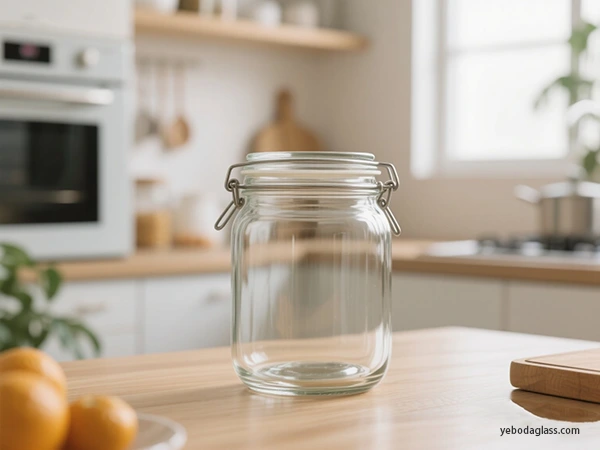
Dedicated jars are reliable
Always use mason jars and tools specifically for home canning! “Part-time” containers such as mayonnaise bottles and salad dressing bottles will not work. They can’t withstand the high temperature and pressure during canning, are easy to crack, and may not seal well.
Check the lid of the jar first
Check the jar carefully for cracks and gaps before each use; it is best to use a new metal lid (disposable ones are safer) and choose the model that meets the manufacturer’s recommendations; although the screw cap can be reused, throw away the rusted and deformed ones immediately.
There are some particularities in the lid treatment
The current metal lid does not need to be boiled, just wash it clean; the same is true for the screw cap, wash it and check it before using it.
Use the jar while it is hot to prevent cracking and sanitation
Before filling hot food, keep the jar warm (such as placing it in sterilized hot water or keeping it warm in the oven at low temperature) to avoid sudden cracking due to heat, and it can also help maintain a sterile environment.
Wipe the jar mouth clean to seal it tightly
After filling the food, be sure to wipe the jar mouth clean so that the lid can be sealed tightly and not easily damaged.
The pressure canning must be exhausted thoroughly
When using a pressure canner, exhaust the air according to the instructions, so that the required temperature can be reached and the sterilization can be more thorough.
Is the altitude high? The time pressure needs to be adjusted
The boiling point of water is different at different altitudes. If you live at a high altitude, the boiling water bath time or the pressure of the pressure canner must be adjusted accordingly, otherwise the sterilization will not be thorough.
Be careful when handling hot jars, and don't burn your hands
Use jar clips or oven gloves to take hot jars, be steady, don’t drop them or burn them.
Check the seal after cooling
After canning, put them in a ventilated place to cool naturally, and then check the lid – if the center is concave and it sounds crisp when knocked, it is sealed; if it is not sealed, put it in the refrigerator quickly, or re-make it.
The safest storage environment is cool and dry
Sealed canned food should be placed in a cool, dry, dark place, and the temperature should be between 10°C and 21°C. Don’t let it be exposed to the sun, and don’t let it fluctuate between hot and cold, so that it can be stored for a long time and eaten with confidence.
Conclusion
If you want to know how to sterilize mason jars and preserve food at home, it is very important to choose the right jar! From distinguishing the difference between sterilization and sterilization, to choosing boiling water bath or pressure canning according to the ingredients, to careful cleaning and inspection – every step cannot be vague. Follow the guidelines of authoritative organizations such as USDA and NCHFP, and avoid unreliable methods such as oven sterilization, so that canned food can be eaten with confidence.
And YEBODA Mason jars are your reliable partner:
- Good glass, safer: food-grade lead-free glass, specially tempered, heat-resistant and pressure-resistant, can withstand boiling water bath and pressure canning, not easy to crack, and reliable to use.
- Accurate size, stable sealing: The size and thread of the jar mouth strictly meet the standards, perfectly match various lids and screw caps, and the sealing is super reliable, which is the key to long-term food preservation.
- Durable and environmentally friendly: With good cleaning and maintenance, it can be used repeatedly for several years, saving money and environmentally friendly.
- It has many uses and is very practical: it can not only can be used for canning, but also for storing dry goods, fermenting, refrigerating food, mixing drinks, and even as decoration. It can be used in various scenes at home.
Choosing YEBODA Mason jars means choosing safety, reliability and high quality. We know that you value your family’s peace of mind, so we make every jar carefully, so that you can have confidence every time you can can and enjoy the joy of homemade food. From cleaning, disinfection to storage, it is a good helper that you can’t do without in the kitchen!