lntorduction
Have you ever encountered this kind of frustration moment: you want to scoop a spoonful of sweet jam to spread on bread, but the bottle cap is stuck tightly and makes your hands sore and crazy? Whether it is a too tight vacuum seal, jam sticking to the bottle mouth, or the bottle cap is accidentally deformed, these “stubborn elements” are simply a kitchen nightmare! Don’t worry, today I will teach you how to open a jammed jar easily – after reading this guide, you don’t have to rely on brute force to open the bottle cap anymore~
Problem Diagnosis: Why is the bottle cap stuck?
Solve the problem by finding the cause. The main reasons for stuck bottle caps are: vacuum seal, dried contents, and physical damage. Observation and testing can provide a preliminary judgment.
Diagnostic Clues: Auditory and Visual
Look for clues like a detective:
- Vacuum seal: caused by negative pressure in the bottle after the can is cooled.
- Auditory: Tap the edge of the metal cap. A crisp sound may still be vacuum, and a dull sound may have weakened.
- Visual: Soak upside down in hot water. Small bubbles are a sign of vacuum release. The vacuum cap often sags inward.
Dry and sticky contents
If sticky foods such as jam and honey remain on the bottle mouth and are not wiped clean, they will stick to the bottle cap like “glue” after drying! Inspection method: Check the connection between the bottle cap and the bottle body to see if there are any dried jam residues, sugar crystals or sticky traces, and you can find the “culprit” at a glance~
Physical damage
If the threads of the bottle cap or bottle body are deformed by collision, crushed by twisting too hard, or rusted and corroded, the bottle cap will be stuck tightly! Inspection method: Take a close look at the edge of the bottle cap to see if there are pits, cracks or rust, and then see if the threads of the bottle body are crooked and uneven, and you can see the problem at a glance~
Bottle caps of different materials (metal/plastic) and contents (sticky jam, acidic juice) will make it different to open the bottle! You have to choose a method according to the actual situation~
How to break the vacuum seal? These two tips are super useful!
(The vacuum seal makes the pressure difference inside and outside the bottle too big, no wonder it can’t be twisted open!)
Soak in hot water, the bottle cap loosens in seconds
- Operation: Put the bottle cap down and soak it in hot water for about 30 seconds (don’t use boiling water, for fear of scalding the bottle~)
- Principle: The metal bottle cap will expand faster than the glass bottle when it is heated, and the seal will naturally “loosen”, and the air pressure in the bottle will also quietly increase~
- Note: The water temperature should not be too high, be careful when holding the bottle cap!
Tap the edge of the bottle cap and let the air "drill" in
- Operation: Use a spoon handle, wooden chopsticks or other blunt tools to tap along the edge of the metal bottle cap~
- Principle: Tapping can make the bottle cap slightly deform, and the air takes the opportunity to slip in, and with a “hiss-bang”, the vacuum is released!
- Note: Don’t knock too hard, or the bottle cap will be pitted or even cracked~
Dried residue treatment
Dried food residue sticks to the lid like glue. The key is dissolving or softening.
“Like dissolves like” principle
Water-soluble residues (sugar, salt) are dissolved in water, and non-polar solvents are used for grease.
Common household solvents
- Warm water: The safest and most effective for water-soluble residues such as sugar and honey. Soak the bottle cap to allow water to penetrate and dissolve.
- Vinegar: Diluted vinegar is effective for some residues.
- External alcohol: May be effective for non-water-soluble stains.
- Detergent: Add warm water to help emulsify grease.
Enzyme cleaners
Effective for complex residues such as proteins and fats.
- Principle: Enzymes break down organic matter into easily soluble small molecules.
- Application: Apply the solution and leave enough contact time.
Contact time and temperature
Sufficient contact time allows the solvent to penetrate. Appropriately increasing the temperature can accelerate dissolution.
Prevention
Wipe the bottle mouth thoroughly before capping to remove residue.
Dealing with physical damage
Damage (thread misalignment, deformation, corrosion) requires careful handling.
Identify damage
Inspect the cap and bottle: Is the cap deformed/rusted? Are the threads uneven/nicked?
Gentle attempts and friction
Minor damage can increase friction and gently unscrew.
Avoid excessive force
Brute force may increase deformation, cracking or damage the threads.
Tool assistance
Can openers that provide uniform grip and leverage may help.
Tool use
The right tools can do more with less effort.
Tools to increase friction
Rubber pads/cloth, rubber gloves.
Tools based on the principle of leverage
Manual can openers (pliers, straps) provide leverage to amplify torque. The back of a knife/spoon can be used to temporarily break the vacuum, but be careful not to damage it.
Vacuum release tools
Such as Jar Pop Key.
Electric can opener
Automatically clamps and applies torque, suitable for people with weak hands.
Other tools
Undercounter can opener (one-handed operation), multi-function can opener.
Preventive measures
Good habits can prevent bottle caps from getting stuck.
Proper canning and sealing
- Clean the bottle mouth: Wipe thoroughly to remove residue.
- Proper head space: Leave space to prevent overflow and affect the seal.
- Correct tightening: Metal caps can be tightened to “fingertight”, do not overtighten.
- Avoid re-tightening: Do not twist the metal ring again after cooling to prevent damage to the seal.
- Check the seal: After cooling, the lid should be concave and have a crisp sound when tapped.
Storage conditions
- Keep in a cool, dry place away from light: prevent deterioration, rust, and affect quality.
- Remove metal ring: Remove during storage to prevent rust and easy to check for seal failure.
- Unused lid: Store in a cool, dry place.
Content handling
For sticky foods, put plastic wrap on the bottle mouth to prevent sticking.
Regular inspection
Check the sealing of stored food.
Conclusion
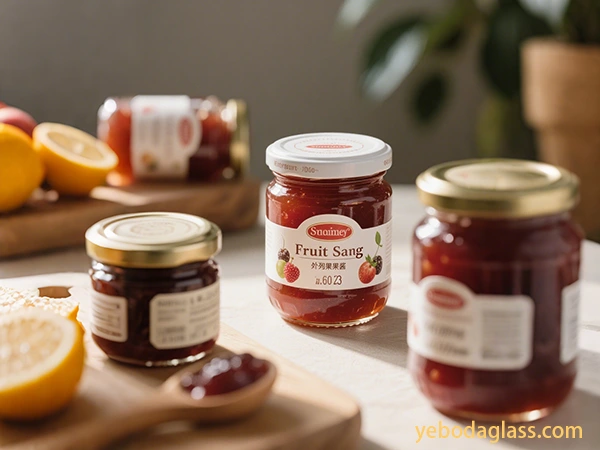
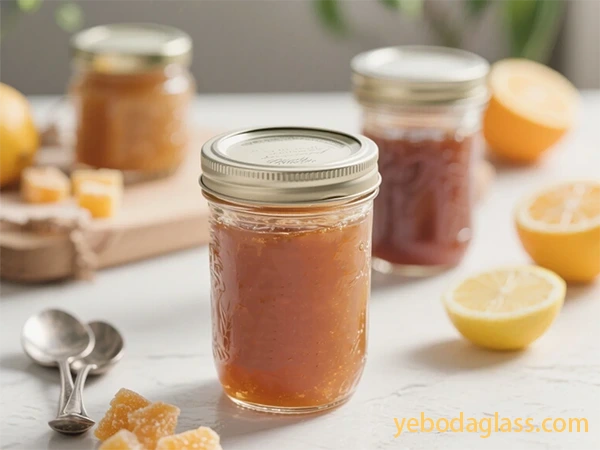
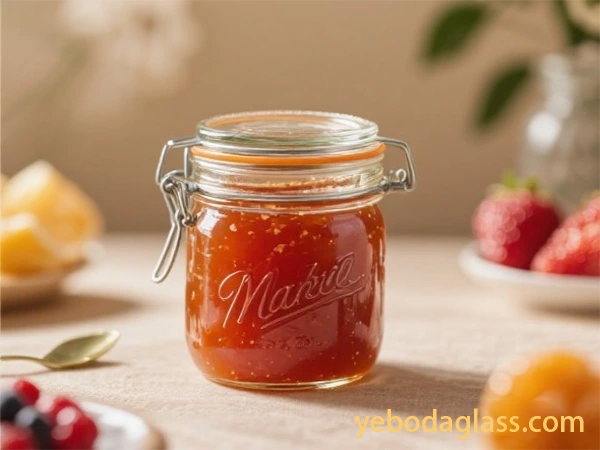
Opening a jam jar shouldn’t be a daily struggle. While this article offers some tips for dealing with stubborn lids, the real solution lies in choosing the right jam jar from the start – and that’s one of the core ideas of how to open a jammed jar.
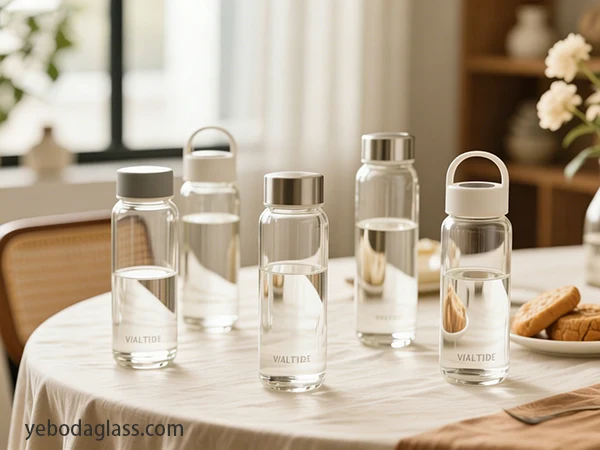
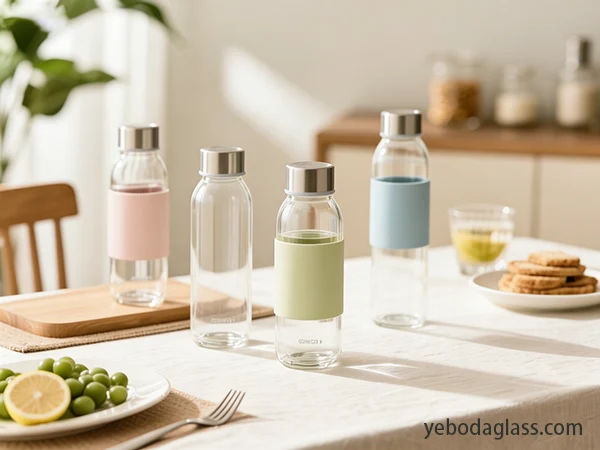
At YEBODA, we specialize in designing beautiful, durable, and practical glass jam jars. Our jam jars feature wide mouths for easy access, airtight seals to keep jam fresh, and, most importantly, ergonomic lids that open smoothly – no more twisting required, no more trouble with stuck lids, and no more problems with how to open a jammed jar.
With years of experience in glass packaging, strict quality control, and a commitment to excellence, YEBODA has become a trusted brand for home users and small businesses. Whether you’re making homemade jam, storing spices, or organizing your kitchen, our jam jars are built to last – designed to solve the “difficulty of opening jars” and make every use a breeze.
Choose YEBODA – the perfect combination of quality and convenience. Make every jam jar a joy to open, and use details to explain the optimal solution of how to open a jammed jar.