Introduction
Have you ever thought about turning a glass bottle into a vase filled with flowers, or stringing a light string to make a warm bedside lamp? In fact, the starting point of all this is hidden in the skill of how to drill a hole in a glass bottle. Glass looks delicate, but as long as you understand its “temperament”, you can easily make a hole in the bottle and give the discarded bottle a new life. This guide will help you sort it out from the inside out, from preparation to hands-on operation, and teach you step by step to do it safely, so you don’t have to worry about the bottle cracking or hurting your hands.
Add Your Heading Text Here
Glass looks hard, but its internal structure is actually “unformed”, just like solidified liquid. Once the force is uneven, it is easy to break from the weak point. When drilling a hole, we don’t use the drill bit to “cut” the glass, but rely on the abrasive particles on the surface of the drill bit to “grind” a hole little by little – the most fatal thing in this process is heat. The high temperature generated by friction will cause the glass to expand locally. If the heat is not dissipated in time, the force of thermal expansion and contraction will tear the glass, which is also the main reason why novices often encounter bottle cracks.
Which glasses can be drilled and which ones must not be touched?
- Those that can be drilled: Most of the bottles we usually drink beverages and cans are soda-lime glass. This kind of glass has moderate hardness. As long as the method is right, the success rate is very high.
- Cautious attempts: Many beakers and high-temperature glass bowls in the laboratory are borosilicate glass. This kind of glass is heat-resistant but more brittle, so you have to be more careful when drilling.
- Absolutely not to touch: tempered glass! This kind of glass has been specially treated and has huge stress hidden inside. Once the drilling breaks the balance, it will “pop” into a pile of small particles. If there is the word “tempered” on the bottom of the bottle, just give up.
Safety protection
If you want to drill a hole in a glass bottle, safety must be put first! After all, when drilling, glass fragments will fly around like a small blade, and dust will also float everywhere. You can’t do it without “arming” yourself. Here are the key points of protection when how to drill a hole in a glass bottle:
"Close protection" equipment
- Goggles/masks: Ordinary glasses can’t block the glass shards flying from the side! You have to choose goggles that can cover your eyes and face. If you have a mask, it will be more reliable. It can even protect your neck and prevent shards in all directions.
- Cut-resistant gloves: Don’t make do with wool gloves! Be positive to pick out cut-resistant gloves marked with ANSI A4 or above. The fingertips are flexible and scratch-resistant. When keeping the bottle, you can sense greater at ease and don’t ought to fear approximately being scratched by the brink of the glass.
- Mask: Glass dust could be very first-rate, and it is difficult to expel it after breathing in it into the lungs. It will cause great harm to the body in the long run. Wearing an N95 mask is a basic requirement. If you have a P100 mask at home, the protection effect will be better and dust can be blocked outside.
- Long sleeves + non-slip shoes: remember to tie the cuffs tightly to prevent debris from getting in along your arms; choose shoes with non-slip soles. If your hands are wet and the bottle slips, you don’t have to worry about hitting your feet, which is an extra layer of protection.
You also have to "care" about the operating environment
- Ventilation + dust removal: find a place with good air circulation to work, and put a small fan next to it to blow towards the drilling position to blow away the dust in time and reduce the risk of inhalation. Put an old cloth on the table, and it is also convenient to clean up the debris after drilling, so that it will not be everywhere.
- First aid should be prepared: put the first aid kit next to you in advance! If you accidentally scratch your hand, rinse the wound with clean water first, and don’t use your fingers to choose out the small glass shards embedded in the flesh. If the bleeding can not be stopped, do not hesitate, go to the medical institution right away for treatment, and don’t be careless about small wounds.
With these safety precautions, you can drill holes with peace of mind and ease. After all, the premise of being creative is to protect yourself. This way, you will be more confident when modifying glass bottles. Feel free to try various techniques in how to drill a hole in a glass bottle~
Choosing the right tools will solve half of the problems
The drill bit must be "special for glass"
Don’t even think about ordinary metal drill bits and woodworking drill bits. Once placed on the glass, it will slip and easily crack the top of the glass. You have to choose a diamond drill bit-this drill bit has a layer of fine diamond particles on the surface, like countless small grinding heads, which can “gnaw” the glass little by little and is not easy to crack.
There are two types of drill bits: if you want to drill small holes (such as threading), choose solid ones, and if you want to drill large holes (such as plugging in light bulbs), choose hollow ones. Buy according to the hole diameter you want, and don’t force yourself to use a small drill bit to expand the hole, which is easy to crack.
The drilling machine must be "stable"
It is best for beginners to use a bench drill. The machine is fixed on the table, the drill bit will not shake, and it can drill down steadily and vertically; if you only have a hand drill, remember to practice on waste bottles first, don’t shake your arms when holding the drill, let the drill bit face the bottle vertically, and don’t use an impact drill – the glass can’t withstand the “bang bang bang” vibration, and it will break as soon as it is drilled.
Cooling! Cooling! Cooling!
This is the most easily overlooked, but the most critical step. The friction heat during drilling will heat up the glass, and water must be used to cool it down, just like “cooling down” the glass.
Simple method: take a dropper and drip a few drops of water into the drilling point from time to time to keep the surface wet; or use plasticine to pinch a small “wall” around the drilling point, pour some water into it, form a small pool, and let the drill bit always soak in water to work; if it is troublesome, just soak the lower half of the bottle in a basin of water and drill (don’t soak it all, otherwise it will be difficult to hold), but be careful not to let the water splash into the switch of the electric drill.
Practical steps: Slow down, and then go slower
Fix the bottle firmly and don't let it "run around"
Find a rubber mat (you can cut a piece of yoga mat) and put it on the table, and put the bottle on it, so it is not easy to slip; then use two wooden boards to clamp the bottle, and put a layer of cloth between the wooden boards and the bottle to prevent marks from being clamped. Don’t tighten the clamp too much, just use a little force to fix it, too much force will crack the bottle – imagine the strength of holding an egg, it’s almost the same feeling.
Mark the position so that the drill bit "does not get lost"
First, use a marker to draw a small dot where you want to drill, then cut a piece of masking tape and stick it on it (ordinary tape is too sticky and may remove glass slag when you tear it off). The tape not only prevents the drill bit from slipping, but also makes the mark clearer. When drilling, just stare at the point in the middle of the tape to prevent it from being distorted.
Start drilling: Remember "low speed, light pressure, and frequent water addition"
- When turning on the electric drill, first adjust it to a low speed gear, and the speed should not exceed 1000 rpm (about 1/3 of the speed of the electric drill). If it is too fast, the heat cannot be dissipated.
- Let the drill bit gently touch the marked point of the tape. Don’t press down hard, just rely on the weight of the drill bit to grind slowly – the harder you push, the easier it is for the glass to crack, just like scratching the glass with your fingernails. Scratch it gently and it will be stable, but push it hard and it will slip easily.
- Keep an eye on the drilling point throughout the process. Stop drilling and add water when there is less water. Don’t grind dry! The drill bit will get hot during dry grinding, and the glass will heat up locally. When you add water, the hot and cold will cause it to crack with a “click”.
- When you are halfway through drilling, you can see that the glass on the other side is a little bulging. At this time, don’t be too quick. Either lift the drill bit gently to let the water in to cool it down, or simply turn the bottle over and continue drilling from the other side – this can avoid the glass at the exit from “breaking” when you finally drill through.
The last step: grind the edges smooth
The edges of the drilled holes must be a little sharp, and it will hurt to touch them with your hands. Find a piece of fine sandpaper (400 mesh or more), dip it in water and polish it gently, or use a diamond file to trim it little by little until the edge feels smooth, which is both safe and beautiful.
The most common pitfalls for novices
If you want to learn how to drill a hole in a glass bottle, you should avoid these pitfalls that novices often step on in advance, otherwise the good bottle will crack at any time, and your efforts will be in vain!
Don't be in a hurry, slow work makes fine work
Some people think that “drilling faster can save time”, but as soon as the speed is increased, the glass will crack with a “click”. Drilling holes in glass is like making soup, which needs to be simmered over low heat. It is normal to drill a small hole for three to five minutes, so don’t be in a hurry. Grind slowly and let the drill bit and glass “live in peace” so that you can drill a beautiful hole steadily.
Leave enough distance from the edge to prevent the bottle from "breaking"
The drilling point must be at least 1.9 cm (about the length of a finger joint) away from the edge of the bottle! If it is too close to the edge, the glass “can’t use its strength” and may crack from the edge halfway through drilling. Don’t be bothered, measure the distance before starting, so that the bottle can withstand the pressure of drilling.
Replace the drill bit when it is blunt, don’t make do with it
After using the diamond drill bit for a long time, the small particles on the surface will be worn away and become “blunt”. If you continue to use it at this time, it will not only drill slowly, but also slip easily, not only will the hole be drilled crooked, but the glass will also suffer. Replace the drill bit when it is time, don’t be stingy with this little money, a new drill bit will allow you to drill smoothly.
Practice with waste bottles first, then touch the "baby bottle"
For the first time drilling, don’t use your favorite bottle directly! Find an empty soy sauce bottle or beverage bottle to try the water first, feel how to control the strength of the drill bit, and when to add water to cool it down. Practice two or three more times, find out the rules, and then start with the bottle you like, the success rate will double directly, and you don’t have to worry about damaging the beautiful bottle.
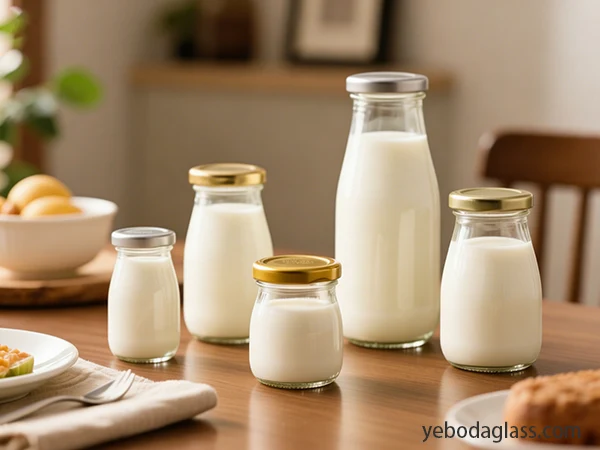
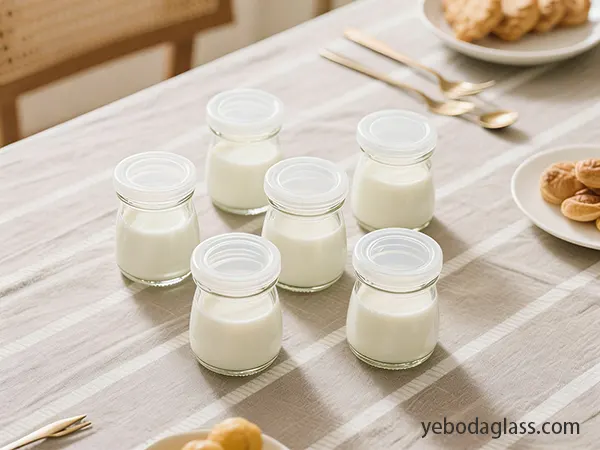
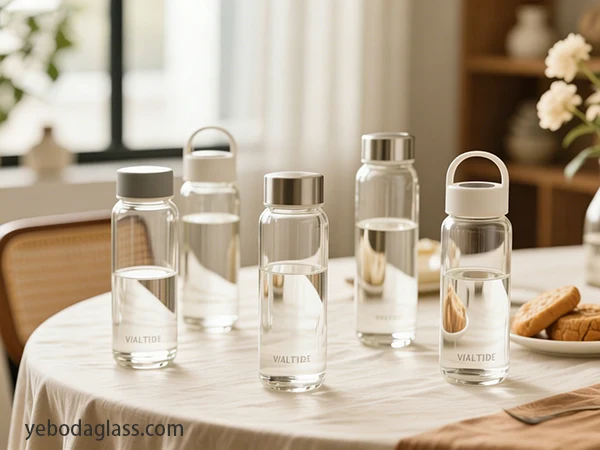
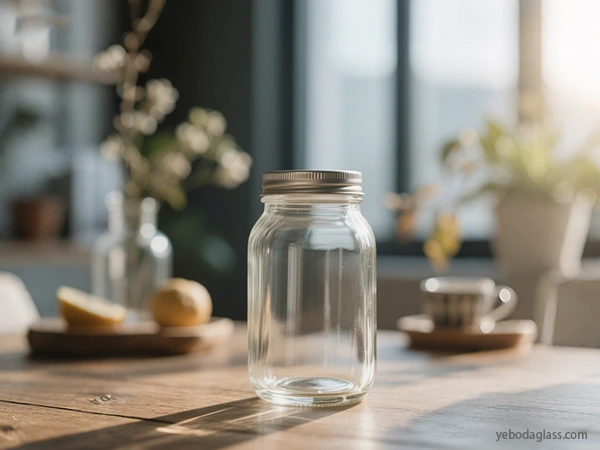
In fact, if you master how to drill a hole in a glass bottle, you will find that drilling a hole in a glass bottle is not as difficult as you imagined. If you are worried that the quality of the bottle will affect the effect, try YEBODA’s glass bottles. They have uniform wall thickness, few impurities in the glass, are stable when drilling, and are not easy to crack. It is also safer for beginners to use. Just be bold and use your creativity!
Conclusion
Now that you have learned how to drill a hole in a glass bottle step by step, it’s time to start a super fun DIY creative journey! Whether it’s making a dedicated night light, creating a personalized small flower pot, or transforming a unique hand sanitizer bottle, it can be arranged~ But remember, the first step to success is to choose the right bottle!
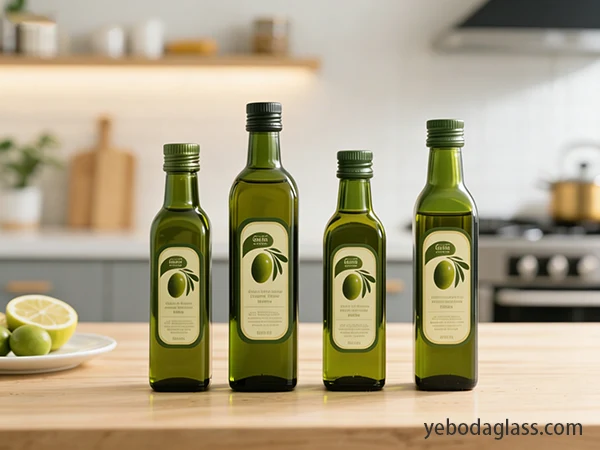
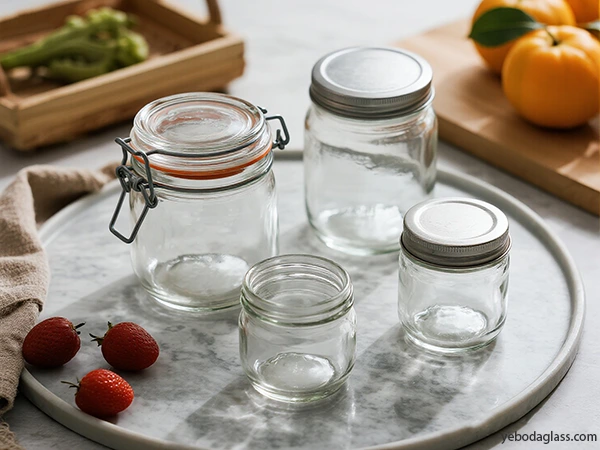
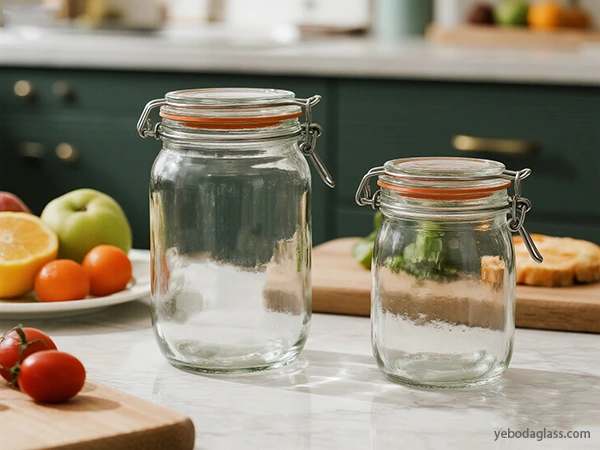
Why do many DIY experts love to choose YEBODA bottles? Because our glass bottles are made of solid materials, thick enough, high quality, and especially durable, they are super suitable for drilling, handicrafts, and repeated use! Whether you are a novice or an experienced handicraft master, the durability, transparency and stability of YEBODA bottles can firmly support your wonderful ideas, making the work safe and beautiful, and perfectly landing your creativity~
When you pursue quality, choose YEBODA! After all, when studying how to drill a hole in a glass bottle, choosing the right bottle can really make a big difference in the whole process and results, helping you turn your handmade inspiration into awesome objects~