Used as filter material when treating water and wastewater.
Application and cutting shape

Straight cutting:
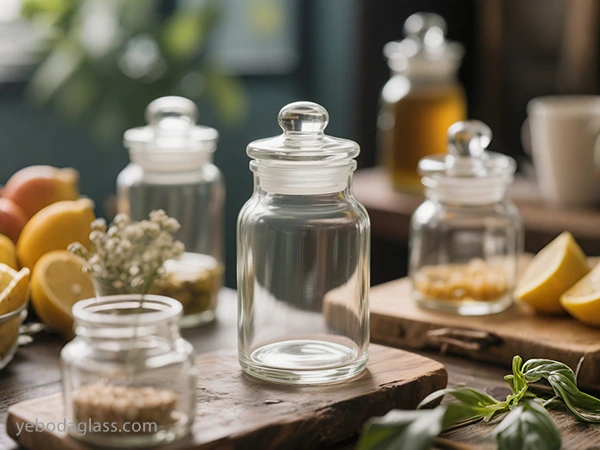
For making cups, vases, and storage jars, you can use the scratch heat stress method (rope flame method, hot water/ice water method, manual cutter) or wet tile saw.
Curves and complex shapes:
For making special-shaped vases and lampshades, you can use diamond-coated rotary tools (such as Dremel), professional glass saws, water jets, or laser cutting.
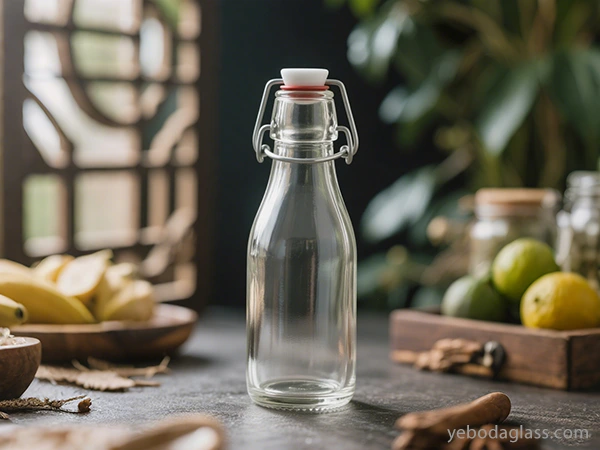
Removing the bottom of a bottle:
- For making candlesticks and open containers, you can use the scratch heat stress method, wet tile saws, or professional glass saws. Cut smoothness
- Rough edge: Only cut, no treatment.
- Simple treatment: Slightly grind to remove sharp edges to ensure safety.
Grind edge:
- Use diamond grinding wheel to treat, create a satin or matte effect.
- Polish edge:
Polish on the basis of grinding to achieve a bright effect.
- Bevel edge: Grind the chamfer to remove the sharpness and form a bevel.
- Miter edge: Cut at a specific angle to facilitate the connection of two pieces of glass.
- Tools and equipment Hand tools:
glass cutters, manual cutters, suitable for small-scale DIY, low cost.
Power tools:
Dremel rotary tools, wet tile saws, more efficient and accurate, suitable for medium-sized projects.
- Industrial equipment: CNC cutters, laser cutters, water jet cutters, suitable fhigh-precision, high-volume, complex-shaped industrial production.
- Understand the characteristics of glass Different glass bottles have different “tempers”! For example, thicker bottles (those over 6 mm) need to be cut more carefully; if the bottle is annealed (many ordinary glass bottles are annealed to make the glass more stable), it will be easier to cut than untreated ones and will not crack easily. But we are playing at home, so we don’t need to go into details. Just remember “slow operation for thick bottles and steady operation for thin bottles”~
- Super practical cutting method Scratch thermal stress method
Principle:
- scratch a line on the glass, and then use the temperature difference between hot and cold to make it crack along the scratch Steps:
- Find a glass cutter, and steadily draw a continuous line along the place where you want to cut the bottle. Prepare a basin of hot water (about 40-43℃, it feels a little hot but acceptable) and a basin of ice water. First, soak the scratched part of the bottle in hot water and shake it, then immediately take it out and throw it into ice water! Once the temperature difference is stimulated, “pop” – the bottle may crack along the scratch! If it doesn’t crack, repeat the hot and cold cycle several times, don’t worry~ Applicable:
- If you want to cut the bottle into a straight tube (such as a water cup or vase), it is suitable for beginners to play with small batches, and the cost is almost zero! Disadvantages:
- The cut may not be very smooth, and you have to polish it later; you have to try a few more times to get a feel for it. The type and thickness of glass will affect the effect. For example, a very thick bottle may not crack. Abrasive mechanical cutting
- Use a tool with abrasives to “grind” off the glass, which can cut out complex shapes and is more accurate than the pure scratch method. Tools & Steps:
- I have a Dremel small electric grinder at home, equipped with a diamond-coated grinding head. Turn on the electric grinder, slowly grind along the line you want to cut, rinse with water while grinding (don’t let the glass overheat and crack), grind out a groove until the bottle cracks or wears through. If you want to cut straight lines, it is more convenient to use a wet tile saw. Add water to cool it, and push the bottle to cut slowly, just like cutting vegetables~ If you want to cut curves (such as making special-shaped decorative bottles) and thick bottles, it is more accurate than pure manual work and suitable for people with some hands-on experience.
Advantages:
- Can cut complex shapes, and the cuts are smoother than scratches; adding water to cool is not easy to crack. You have to buy small tools (but cheap ones can also be used), don’t rush when operating, grinding too fast can easily break the glass.
- Post-cutting treatment No matter what method you use to cut, the edge of the bottle mouth/bottle body will be very sharp, so you need to deal with it:
- Manual grinding Find sandpaper of different coarseness and fineness, and dip it in water to grind the edge. First, use coarse sandpaper to grind off the big burrs, then change to fine sandpaper to grind it smooth, and finally use sandpaper to polish it. It feels like a new cup you bought!
Lazy polishing method
Vibration grinding:

Lazy polishing method
Vibration grinding:
Take a lighter (don’t use a flamethrower, it’s dangerous!) and quickly burn the edge. The glass will melt slightly and become smooth. Be careful not to burn it for too long, otherwise the bottle will deform!
Safety reminder
- Handling dangerous things like hydrofluoric acid? Don’t do it at home! We are not a professional factory, and it is safe enough to use sandpaper + water to polish. Wear gloves and goggles when cutting! Glass shards hurt your eyes, gloves can prevent cuts. What to do when you encounter problems?
- The bottle is cracked: the scratch is not straight, or the temperature difference between hot and cold is not in place. Next time, mark the key points and try it several times with alternating hot and cold.
- The glass broke when grinding: the speed of the electric grinder is too high, no water is added for cooling, or the grinding head is too blunt. Lower the speed, rinse water while grinding, and try a new grinding head.
- The edge is still prickly: the sandpaper is not ground in place, change to fine sandpaper for polishing, or use a lighter to burn it quickly.
How to cut glass bottles?As stated above, glass bottle reducing is all about safety and generation. Precise reducing, safe methods and ideal area processing are the important thing.
- Handling dangerous things like hydrofluoric acid? Don’t do it at home! We are not a professional factory, and it is safe enough to use sandpaper + water to polish. Wear gloves and goggles when cutting! Glass shards hurt your eyes, gloves can prevent cuts. Professional safety:
- strictly abide by using advanced safety protocols and international standards, safe from manufacturing to cutting. High precision and exact edges:
- The glass broke when grinding: Innovative generation:
- Keep up with Industry 4.Zero, integrate synthetic intelligence, automation and predictive maintenance into production, and explore contemporary technology. Sustainability:
- The edge is still prickly: Diverse customization: With strong production capacity and flexible customization services to meet different needs.
YEBODA is not only a supplier, but also your reliable partner in the field of glass processing. We use professionalism, rigor and innovation to make each YEBODA glass bottle a good starting point for your creativity and production. Let’s open up the infinite possibilities of glass bottles together!
תלוי באיזה שיטה תשתמש, קצה הפיות/גוף הבקבוק יהיה חד מאוד, אז עליך להתמודד איתו:
חיתוך ידני
מצא נייר גילז של גרדות שונות וחדות, טפח אותו במים וחתוך את הקצה. תחילה, השתמש בנייר גילז גס לחתוך את החריצים הגדולים, אז החליף לנייר גילז חד, ולבסוף השתמש בנייר גילז ללמוד. זה נראה כמו כוס חדשה שקנית!
שיטת למידה פשוטה
- חיתוך רעידתי: אם יש לך מחזר רעידתי/מחזר יהלומים בבית, הטוש את החומר החריד בתוכו, והסע את הבקבוק ואת החומר החריד יחד, והקצה יהיה מחובר אחרי כמה שעות. זה מתאים לעיבוד מספר בקבוקים קטנים בו זמנית.
- למידה באמצעות אש: לקח גפיר (אל תשתמש במדורה, זה מסוכן!) ושרוף במהירות את הקצה. הזכוכית תמס מעט ותהפוך למחוברת. היזהר שלא לשרוף אותו יותר מדי, אחרת הבקבוק יתפורר!
תזכורת לבטיחות
טיפול בדברים מסוכנים כמו זרחן חמצני? אל תעשה את זה בבית! אנחנו לא מפעל מקצועי, וזה מספיק בטוח להשתמש בנייר גילז + מים ללמוד. לביש כפפות ועדשות כשחותכים! חתיכות זכוכית פגיעות בעיניים, כפפות יכולות למנוע חיתוכים.
מה עליך לעשות כשמתקלקלים?
- הבקבוק נשבר: החריץ אינו ישר, או שהפער הטמפרטורי בין חם וקר אינו מתאים. בפעם הבאה, רשום נקודות מפתח ונסה כמה פעמים עם חימום וקירור מחליפים.
- הזכוכית נשברה בעת חיתוך: מהירות המחריד החשמלי גבוהה מדי, אין מים לקירור, או שראש החיתוך חד מדי. גבול את המהירות, שטוף מים בעת חיתוך, ונסה ראש חיתוך חדש.
- הקצה עדיין קוצני: נייר הגילז לא נחתך בצורה נכונה, החליף לנייר גילז חד ללמידה, או השתמש בגפיר לשרוף אותו מהר.

קישור
איך לחתוך בקבוקי זכוכית? כפי שנאמר, הקטנת בקבוקי זכוכית כללה היא על בטיחות ויצירה. קטיפה מדויקת, שיטות בטוחות ועיבוד אזורים אידיאליים הם הדבר החשוב.
בחירת שיטת YEBODA:
- בטיחות מקצועית: ציות קפדני לשימוש בפרוטוקולים בטיחותיים מתקדמים וסטנדרטים בינלאומיים, מבטיחים מבנייה ועד חיתוך.
- דיוק גבוה וקצוות מדויקים: עם שימוש בטכנולוגיות פורצות דרך (לייזר, קרן מים), נוכל לחתוך צורות מורכבות במדויק ולצעוד מספר אפשרויות לחדירה.
- יצירה חדשנית: להשיג עדכונים במספר 4.0, לשלב בינה מלאכותית, אוטומציה ותחזית תחזוקה לתוך היצורה, ולחקור טכנולוגיה מודרנית.
- קיימות: מתמקד בהפחתת פסולת, יעילות אנרגיה ומיחזור.
התאמה מגוונת: עם יכולת ייצור חזקה ושירותי התאמה גמישים למטרות שונות.
YEBODA היא לא רק ספק, אלא גם שותף ניצב בתחום עיבוד הזכוכית. אנו משתמשים במקצועיות, דיוק וחדשנות כדי להפוך כל בקבוק YEBODA לנקודת פתיחה טובה ליצירתיות וייצור שלך. הבטחו לפתוח יחד את האפשרויות הבלתי מוגבלות של בקבוקי זכוכית!

